Creating a stimulating and enriching environment for baby doesn't have to be expensive. DIY sensory toys can be just as effective as store-bought options, and they come with the added benefit of being customizable and budget-friendly. In this blog, we'll explore a variety of DIY sensory toys that you can easily make at home to support your baby's cognitive and motor skill development.
The Benefits of Sensory Play
Before diving into the DIY projects, it's important to understand why sensory play is so beneficial for babies. Sensory play involves activities that engage your baby’s senses – sight, sound, touch, taste, and smell. These activities help develop fine and gross motor skills, enhance cognitive growth, encourage problem-solving, and support language development. By creating sensory toys at home, you can provide these benefits in a cost-effective and creative way.
DIY Sensory Toys Ideas
1. Sensory Bottles
Materials:
- Empty plastic bottles
- Water
- Food coloring
- Glitter, beads, small toys, or other small objects
- Hot glue gun
Instructions:
- Fill the plastic bottle halfway with water.
- Add a few drops of food coloring and shake to mix.
- Add glitter, beads, or small toys to the bottle.
- Fill the rest of the bottle with water, leaving a small air gap at the top.
- Seal the lid with hot glue to prevent leaks.
Benefits: Sensory bottles are great for visual and auditory stimulation. Babies can shake, roll, and watch the objects move inside the bottle, which helps develop their tracking skills and hand-eye coordination.
2. Fabric Sensory Board
Materials:
- A sturdy piece of cardboard or a wooden board
- Various fabrics with different textures (felt, silk, corduroy, etc.)
- Scissors
- Glue or a stapler
Instructions:
- Cut the fabrics into small squares or shapes.
- Arrange the fabric pieces on the board.
- Glue or staple the fabric pieces onto the board securely.
Benefits: A fabric sensory board provides tactile stimulation. Babies can feel and explore the different textures, which helps develop their sense of touch and fine motor skills.
3. Rice Sensory Bin
Materials:
- A large plastic container
- Uncooked rice
- Food coloring (optional)
- Small toys, spoons, cups, and funnels
Instructions:
- (Optional) If you want colored rice, place the rice in a plastic bag with a few drops of food coloring and shake until the rice is evenly colored. Let it dry completely.
- Fill the plastic container with the rice.
- Add small toys, spoons, cups, and funnels for your baby to explore.
Benefits: A rice sensory bin provides tactile and auditory stimulation. Babies can scoop, pour, and feel the rice, which helps develop fine motor skills and hand-eye coordination.
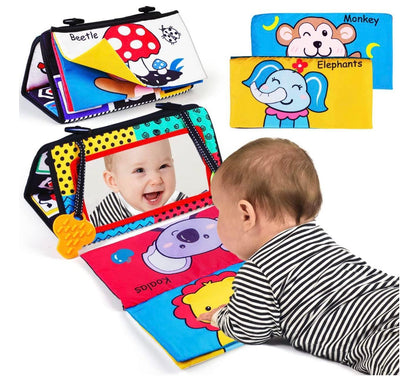
4. Tummy Time Mirror
Materials:
- Unbreakable mirror (plastic or acrylic)
- Colorful tape or foam sheets
Instructions:
- Decorate the edges of the mirror with colorful tape or foam sheets to make it visually appealing.
- Place the mirror on the floor during tummy time.
Benefits: Tummy time mirrors encourage babies to lift their heads and look at their reflection, promoting neck strength, visual tracking, and self-awareness.
5. No-Sew Sensory Bags
Materials:
- Ziplock bags
- Hair gel or clear shampoo
- Small objects (buttons, sequins, glitter, beads)
- Duct tape
Instructions:
- Fill the Ziplock bag halfway with hair gel or clear shampoo.
- Add small objects like buttons, sequins, glitter, or beads.
- Seal the bag, removing as much air as possible.
- Reinforce the edges with duct tape to prevent leaks.
Benefits: Sensory bags provide tactile and visual stimulation. Babies can squish and move the objects inside the bag, which helps develop fine motor skills and sensory awareness.
Tips for DIY Sensory Toys
1. Ensure Safety: Always supervise your baby during playtime, especially with DIY toys. Make sure all materials are non-toxic and that small parts are securely enclosed to prevent choking hazards.
2. Rotate Toys: To keep your baby engaged, rotate their sensory toys regularly. This keeps playtime fresh and stimulating.
3. Encourage Exploration: Allow your baby to explore and interact with the toys at their own pace. Avoid directing their play too much; let their curiosity lead the way.
4. Customize for Your Baby: Tailor the sensory toys to your baby's preferences and developmental stage. Use colors, textures, and objects that they show interest in.
Conclusion
DIY sensory toys are an affordable and effective way to support your baby's development. By engaging their senses, these toys provide valuable learning experiences that aid in cognitive and motor skill growth. Plus, creating these toys at home can be a fun and rewarding activity for parents. So gather your materials and start crafting these simple yet powerful tools for your baby's development journey
